Tile flooring concerns
Tile Lippage Inspection in Reno & Northern Nevada
When one tile edge sits higher than the next, the visible height difference should be measured in context—not judged from appearance alone. Preserve the area so the installation can be documented.
We review the property location, inspection scope, and travel requirements before confirming the assignment.
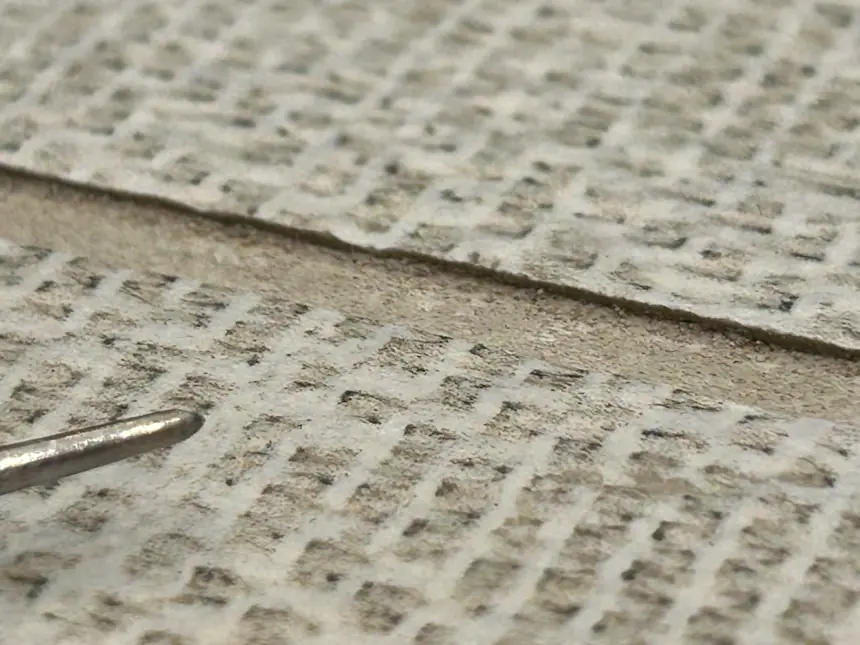 Actual inspection photograph · Client details withheld
- 01Raised tile edges
- 02Uneven transitions
- 03Cracked tile or grout
- 04Hollow-sounding areas
Independent field documentation
Lippage must be evaluated in context
Tile size, pattern, grout-joint width, inherent tile warpage, lighting, substrate conditions, and workmanship can influence what is visible. An independent inspection records representative locations, measurements, and related conditions before repairs change the installation.
Real floors. Documented conditions.
Raised tile edges you can see—and feel
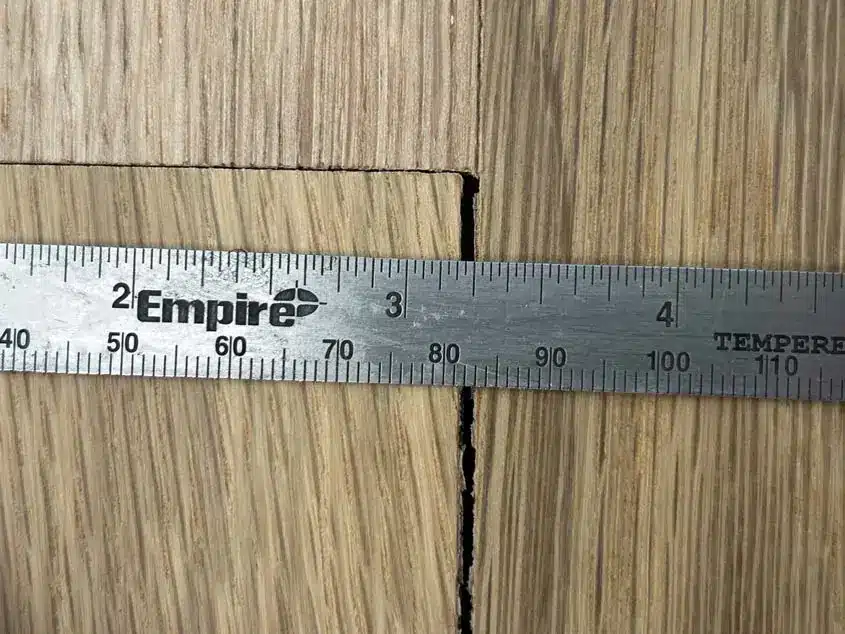
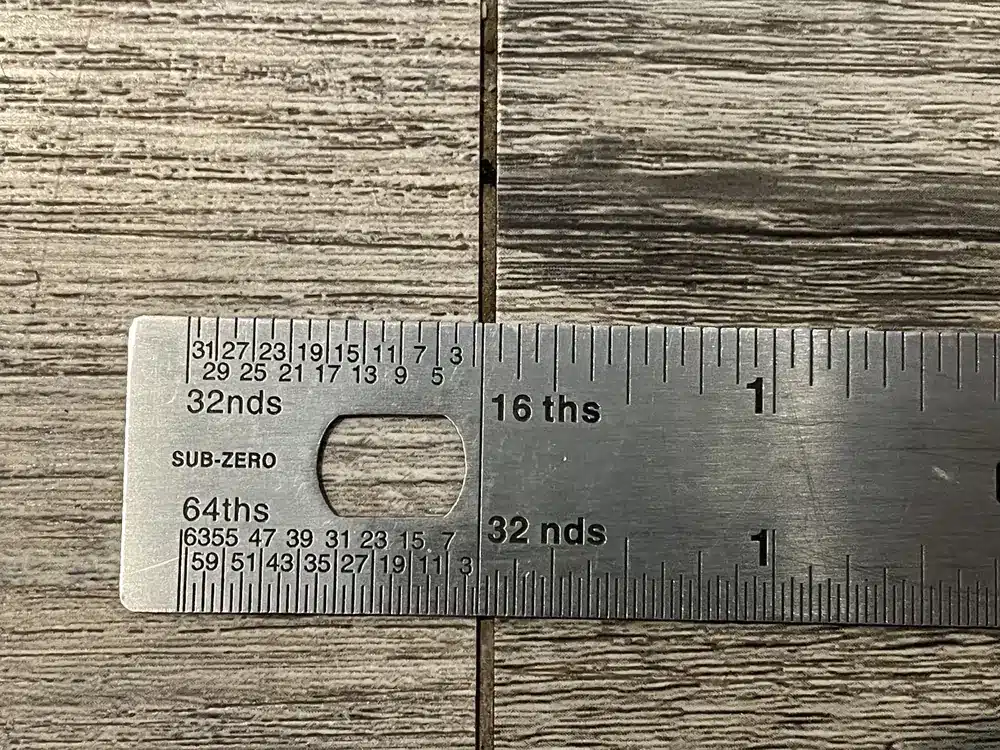
Actual inspection photographs show uneven adjacent tile edges, exposed tile bodies above low grout, and representative lippage measurements. A close-up helps recognize the symptom; measurements help put it in context.
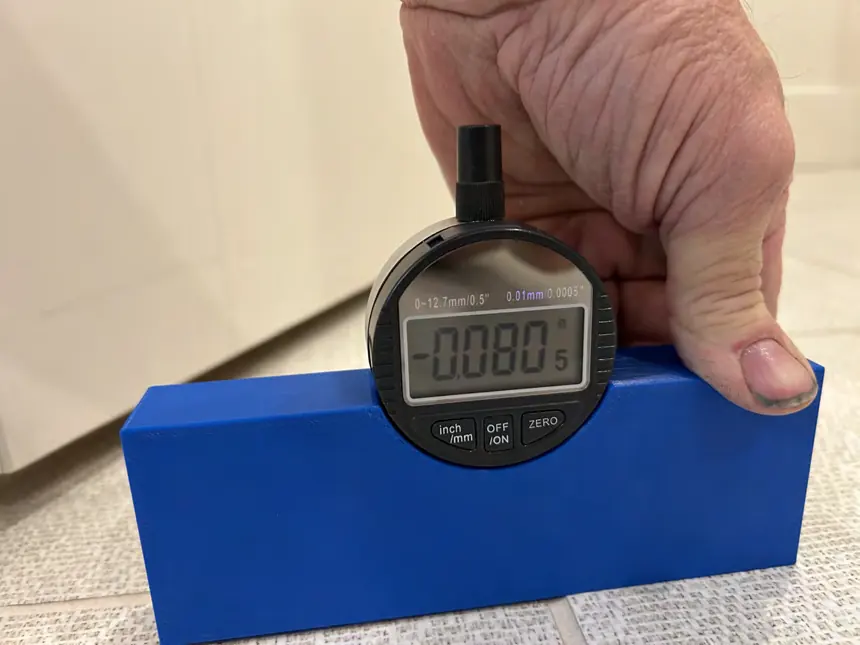
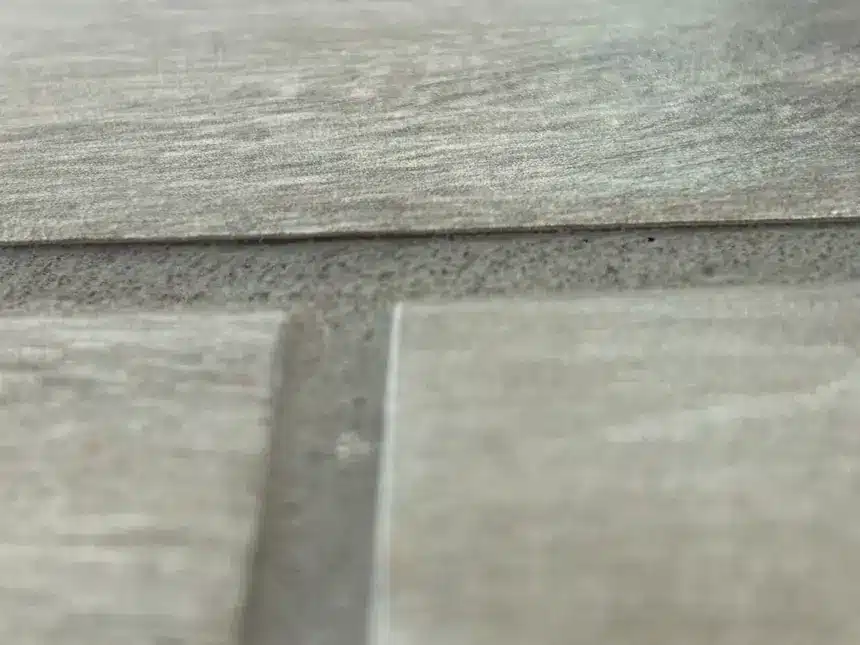
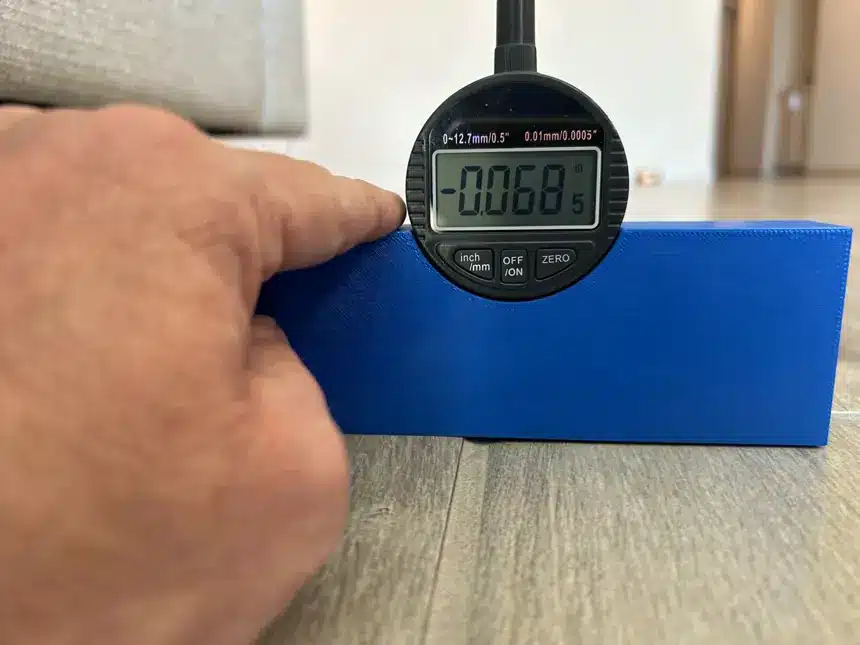
If tile edges catch your feet or cleaning tools, keep people clear of hazardous areas and send photographs of the affected joints. Request an inspection before grinding edges, regrouting, or replacing tile removes evidence needed to understand the condition.
Photographs and summaries are from two separate past inspections. They illustrate documented conditions, not a diagnosis of your floor or a promised claim outcome. Client names, addresses, and full reports are not published.
What the inspection documents
4 inspection checks for a clear record
The scope is tailored to the reported concern and accessible conditions at the property.
Height differences
Representative adjacent-tile edge measurements at reported and comparison areas.
Tile characteristics
Tile dimensions, pattern, grout width, visible warpage, and surface variation.
Related distress
Cracks, grout conditions, hollow sounds, movement, and transition details where accessible.
Site context
Lighting, room use, installation layout, substrate clues, and available project documents.
Useful documentation
Evidence organized for review
A written report organizes measurement locations, labeled photographs, visible tile and grout conditions, installation context, and available records for a more productive review.
- Written field observations
- Labeled photographs
- Representative measurements
- Relevant site information
Inspection findings do not guarantee a warranty decision, repair outcome, insurance result, or legal result.
From concern to clarity
A straightforward inspection process
We confirm the assignment before an appointment is placed on the schedule.
Share the concern
Tell us the floor type, symptoms, property location, and who needs the inspection.
Confirm scope
We review fit, access, timing, and any product or project records that may help.
Receive the report
Field observations, labeled photos, measurements, and written findings are organized for review.
Common questions
Tile Lippage Inspection FAQ
What is tile lippage?
Tile lippage is the difference in elevation between the edges of adjacent tiles. The observed difference must be considered with tile characteristics, grout joints, and the installation context.
Can lighting make lippage look worse?
Low-angle light can emphasize shadows at tile edges. Lighting is relevant to appearance, but representative measurements and site observations are still needed.
Should loose or uneven tile be removed first?
When practical, leave reported areas intact until they are documented. Removal can eliminate information about the original installation. Address immediate trip hazards appropriately and preserve photographs.
Does an inspection guarantee replacement?
No. The report documents field conditions. Warranty, repair, insurance, and legal outcomes are decided by the responsible parties.
Before your appointment
Preparing for a tile lippage inspection
A tile lippage inspection starts with the locations that concern you and the history of the installation. Identify the rooms, doorways, and tile edges you want reviewed. Explain when the condition was first noticed and whether tiles, grout, or transitions have already been repaired. Include both close-up photographs and wider room views so the concern can be located within the overall installation.
Keep the tile specifications available
Gather the tile manufacturer, collection, dimensions, carton labels, and purchase records if available. Installation drawings, pattern information, grout details, and written project specifications can also be useful. Spare uninstalled tiles may provide additional product context, but do not remove installed tiles to prepare. If a product detail is unknown, identify it as unknown and provide the records you do have.
Describe the concern in everyday terms
Before your tile lippage inspection, note whether the issue is something you see, feel underfoot, or notice at particular transitions. Explain which areas are used most often and whether the concern changes in appearance under different lighting. Photographs help locate the issue, but they do not replace representative field measurements. Avoid assigning a numerical pass-or-fail limit from a photograph or from advice about a different tile installation.
Preserve the installation for review
Keep affected areas accessible and avoid grinding edges, replacing tiles, or altering grout solely for the inspection. If work must occur before the visit, photograph the condition and retain the work records. Advise us about damaged surfaces and access restrictions. The tile lippage inspection report records what was accessible and identifies questions that require further information or a separately agreed investigation.
For general tile-industry background, visit the Tile Council of North America. Industry resources provide useful context; the relevant product information, project requirements, and documented field conditions are needed for a review of your own installation.
Make the visit useful for everyone reviewing the concern
Identify who requested the inspection and who will receive the report. Homeowners, retailers, installers, manufacturers, and property managers may each have different records. Gathering those records in advance helps keep product details, installation history, and later changes organized. If documents conflict, provide both versions and explain their sources rather than choosing one as established fact.
Arrange access to the affected rooms and advise us about occupied areas, pets, furniture, or other access limits. Ordinary access does not include dismantling cabinets, lifting installed flooring, or opening the building. Any additional investigation needs a defined scope and appropriate authorization. Discuss access restrictions before the appointment so the expected documentation matches what can actually be observed.
Start with a clear inspection request
When requesting a tile lippage inspection, include the property city, a few representative photographs, your preferred contact method, and the question you need answered. We review the request and confirm the assignment before scheduling. This gives you a clear starting point for the visit and helps the resulting record support the next discussion about your floor.
Keep copies of the information you send and preserve the original photographs where possible. A dated image with a room location is more useful than an unlabeled close-up. If someone else supplied a measurement or described a previous condition, identify that source. The report can then distinguish the current inspection observations from the history supplied by others.
Other flooring concerns
Find the inspection that fits your floor
Serving Reno, Sparks, Carson City & the Tahoe region
Requesters may be located anywhere when the property is within the Northern Nevada service area.
Reno Floor Inspector